YFNWG – your friendly neighbourhood washroom guard. IoT thresholded Temp/Hum/Open sensor with MicroPython on a D1 mini
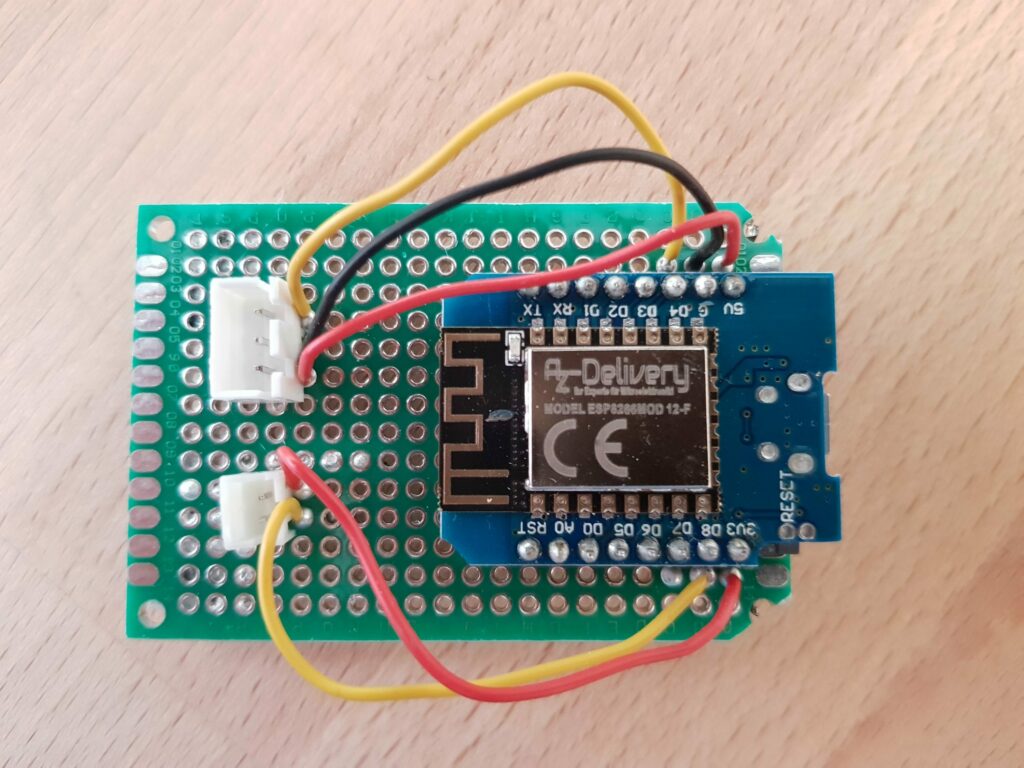
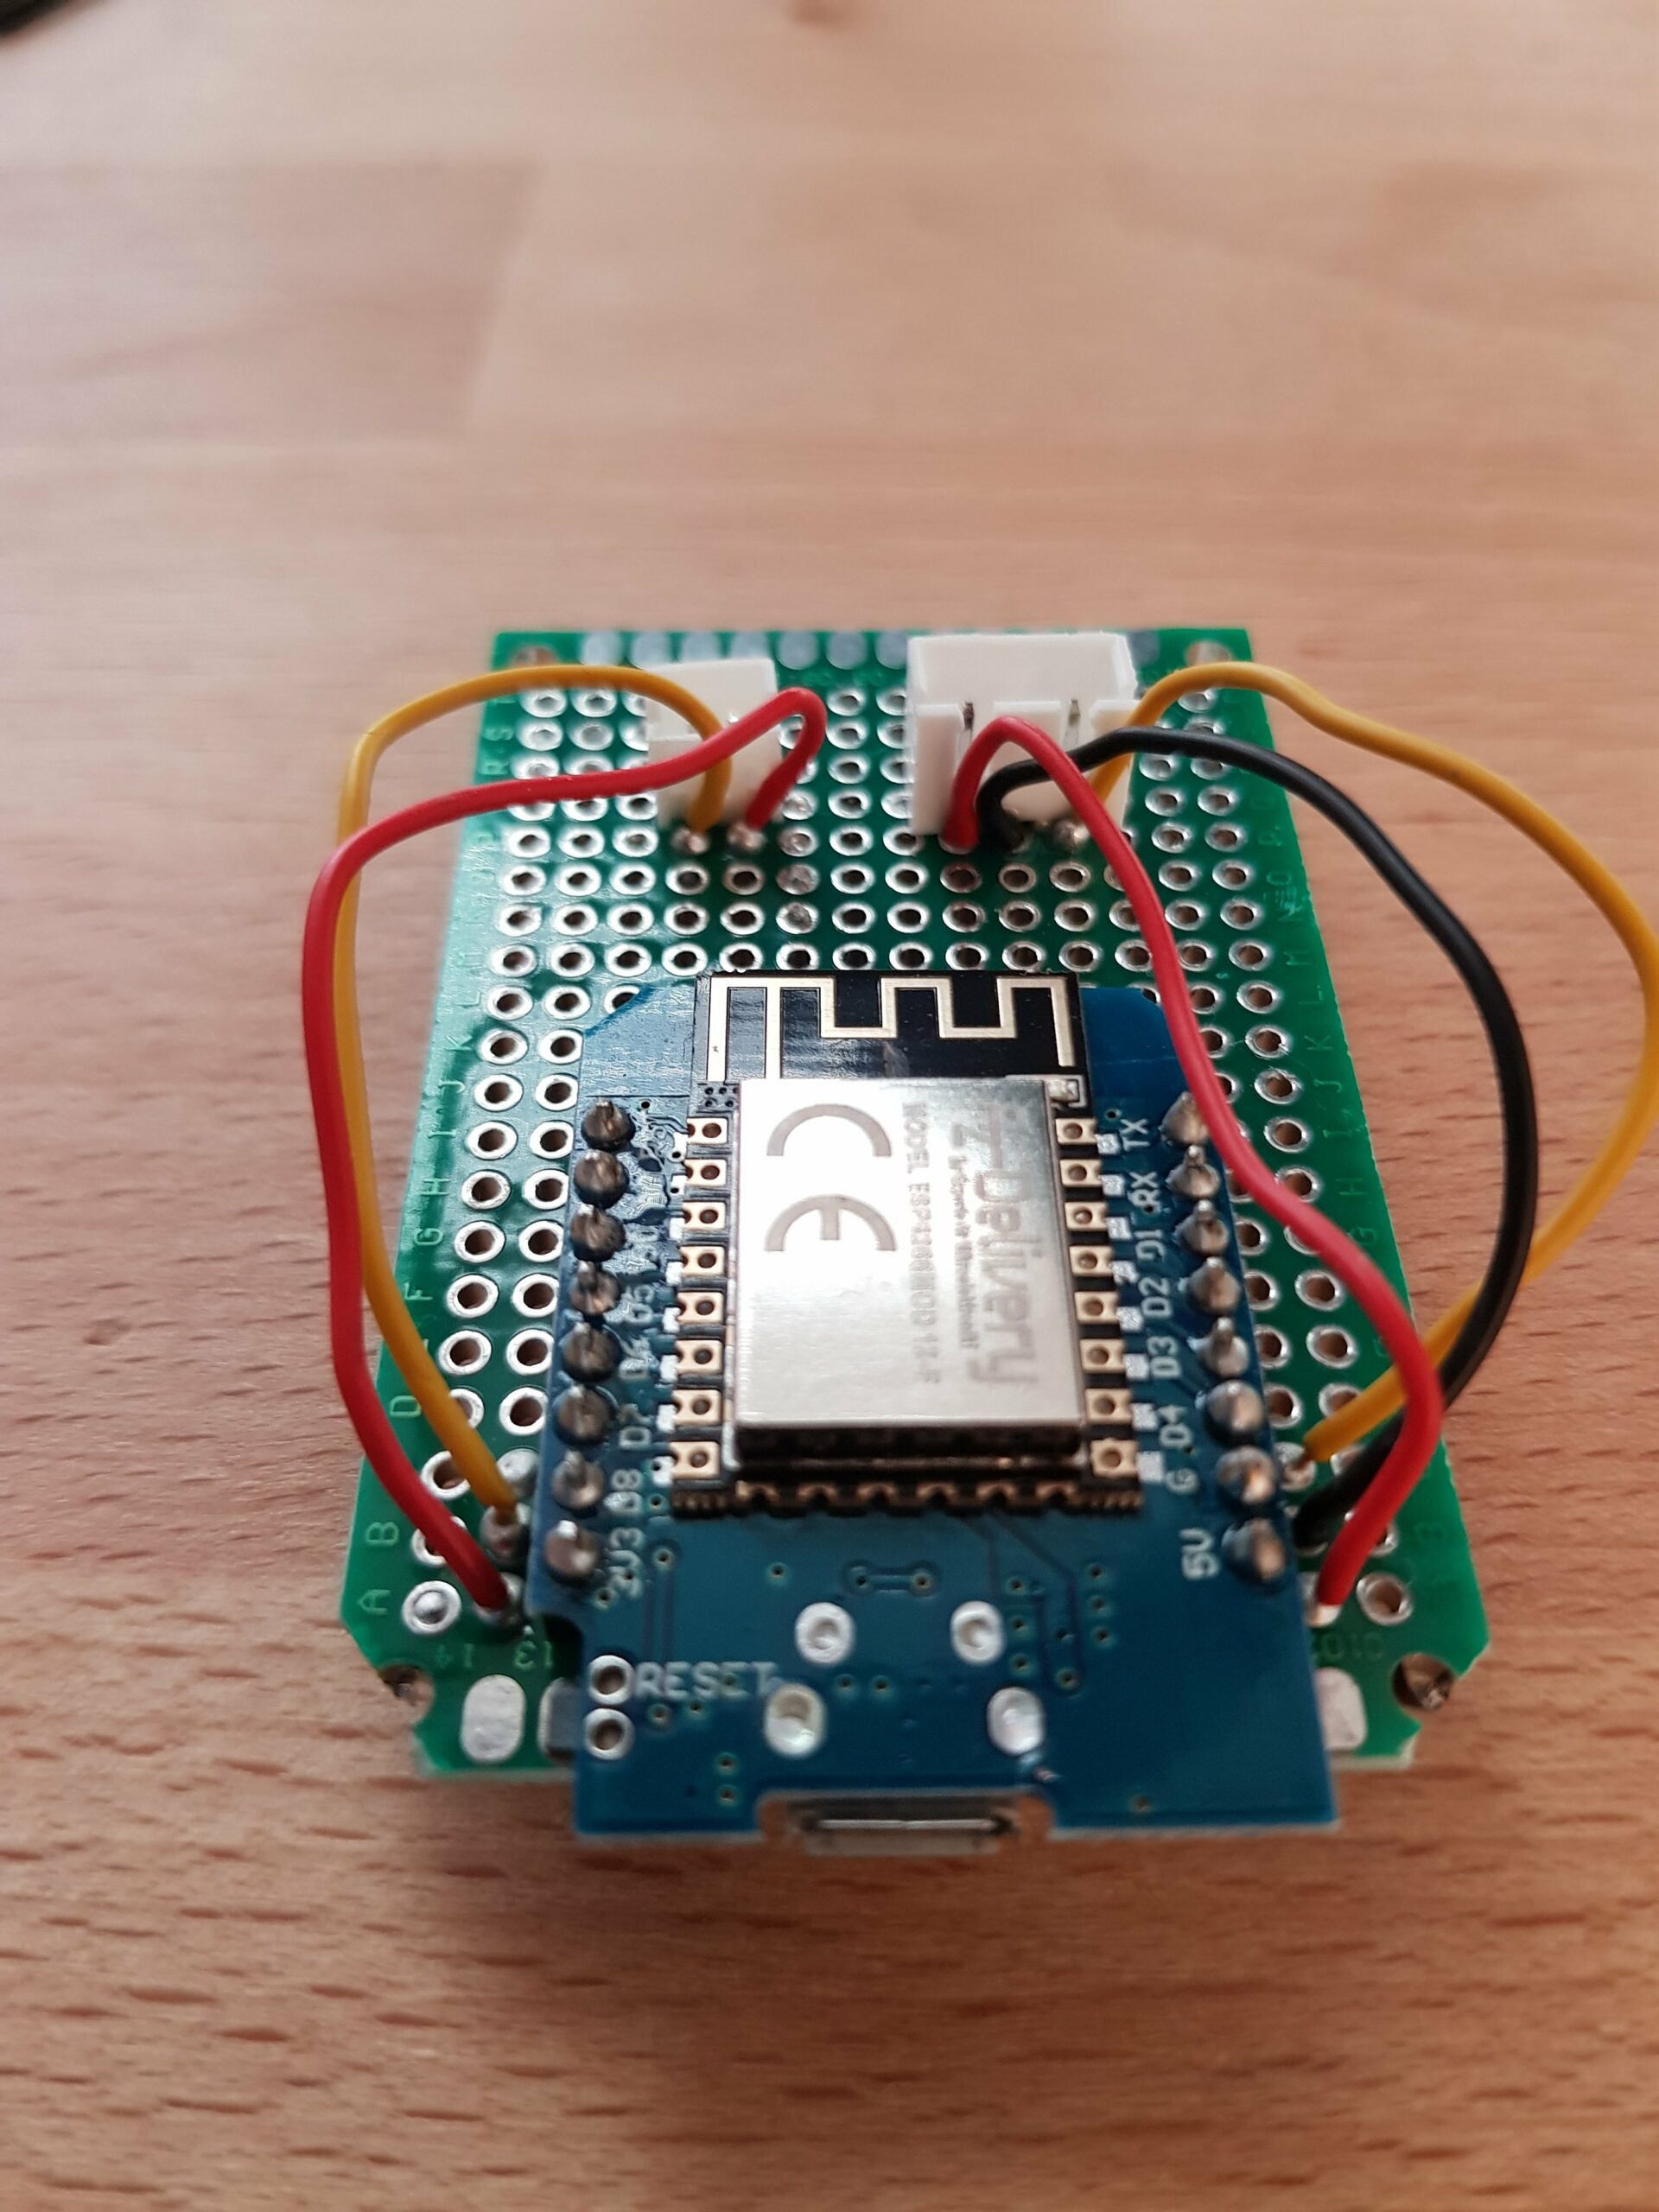
It measures the temperature, humidity and open status of a window and send the values to the local MQTT broker if the values have changed (enough). The D1 got a nice housing on a solderable breadboard. The sensor cables can be plugged and unplugged into sockets on the breadboard. So I can easily exchange the device or sensor and unplug it and update the software if needed. Most of the IoT devices have the same job until now, so it seems to be best to build them the same way.
With the thresholding in the code it is made sure no useless information is sent. As the device is not battery powered, the sensor interval was shortened and if values change enough, you get more updates automatically. The interval is set to 15 seconds and if nothing exceeds the set thresholds, the update is skipped – until a maximum of skipped updates is reached or in my case unlimited. This enables tuning the sent updates to your needs.
Both sensors are read in a single loop so there’s nothing async going on in here. I’ve got another device with a temp/hum sensor and an LED stripe which uses async for two different loops, because the intervals differ greatly (coming soon when finalized).
It also checks if the WiFi is connected before each publish and reconnects if necessary and makes use of the umqtt.robust version which re-establishes lost connections itself.
This is not just some example code – it is the actual code after several iterations of improvements running on the device in my washing room since several days without errors.
import dht
from machine import Pin
from time import sleep
import config.config as cfg
import config.wifi_credentials as cred
import network
import ubinascii
import json as j
from umqtt.robust import MQTTClient

class IoTTempHumWindowSensorThresholded:

    def __init__(self):
        self.temp = None
        self.hum = None
        self.open = None
        self.prev_temp = None
        self.prev_hum = None
        self.prev_open = None
        self.temp_hum_sensor = dht.DHT22(Pin(cfg.DHT_SENSOR_PIN, Pin.IN))
        self.window_sensor = Pin(cfg.REED_SENSOR_PIN, Pin.IN)
        self.wifi = network.WLAN(network.STA_IF)
        self.id = ubinascii.hexlify(self.wifi.config('mac'), ":").decode().upper()
        self.publishes_skipped = 0

    def connect_to_wifi(self):
        print('connecting to wifi')
        self.wifi.active(True)
        self.wifi.connect(cred.WIFI_SSID, cred.WIFI_PASSWORD)
        while not self.wifi.isconnected():
            sleep(0.3)
        print(f'connected to wifi {self.wifi.ifconfig()}')

    def read_sensors(self):
        self.temp_hum_sensor.measure()
        self.temp = self.temp_hum_sensor.temperature()
        self.hum = self.temp_hum_sensor.humidity()
        self.open = self.window_sensor.value() == 1

    def should_publish(self) -> bool:
        will_publish = True # default - will be changed if no threshold exceeded
        if self.prev_temp is None or self.prev_hum is None or self.prev_open is None:
            print('No previous value')
        elif cfg.MAX_PUBLISH_SKIPS == 0:
            pass
        elif self.max_skipped():
            print('Max times skipped reached')
        elif self.open is not self.prev_open:
            print('Open status changed')
        elif abs(self.temp - self.prev_temp) >= cfg.TEMP_THRESHOLD:
            print('Temperature change threshold exceeded')
        elif abs(self.hum - self.prev_hum) >= cfg.HUM_THRESHOLD:
            print('Humidity change threshold exceeded')
        else:
            print(f'Skipping update: Temp: {self.temp} Hum: {self.hum} Open: {self.open}')
            will_publish = False
        self.publishes_skipped = 0 if will_publish else self.publishes_skipped + 1
        return will_publish

    def max_skipped(self) -> bool:
        return False if cfg.MAX_PUBLISH_SKIPS == -1 else self.publishes_skipped > cfg.MAX_PUBLISH_SKIPS

    def update_previous_values(self) -> None:
        self.prev_open = self.open
        self.prev_temp = self.temp
        self.prev_hum = self.hum

    def publish(self):
        mqtt_client = MQTTClient(self.id, cfg.MQTT_SERVER, keepalive=5)
        mqtt_client.connect()
        data = j.dumps({'temp': self.temp, 'hum': self.hum, 'open': self.open, 'id': self.id})
        mqtt_client.publish(cfg.SENSOR_TOPIC, data)
        print(f"====> Published: Temp: {self.temp} Hum: {self.hum} Open: {self.open}")

    def run(self):
        while True:
            try:
                self.read_sensors()
                if(self.should_publish()):
                    if not self.wifi.isconnected():
                        self.connect_to_wifi()
                    else:
                        self.update_previous_values()
                        self.publish()
            except Exception as e:
                print(f"Error when reading sensors or publishing - continuing\n{e}")
            sleep(cfg.MEASURE_DELAY_S)


if __name__ == "__main__":
    IoTTempHumWindowSensorThresholded().run()
The code should be pretty self-explanatory, but if you have any questions or suggestions please ask!
- The code in the infinite loop is kept in a try – except to catch and log occurring errors but not to exit the loop.
- First action in the loop is reading the sensors and saving the values.
- The should_publish method is responsible for the thresholding part and checks if the absolute value changes exceed the set limit, if the open state has changed or if the max count of publishes were already skipped. If not, the update is skipped and the skip counter incrmented. In combination with the pretty short loop interval this results in very few updates when nothing changes and more updates if e.g. the temperature changes alot in a short amount of time.
- If it has been decided to publish the current values, it is checked and executed if the Wifi connection has to be established
- The previous values which represent the new calculation base for the upcoming thresholding, are updated with the current values
- The publish method of the umqtt.robust module re-establishes the connection to your broker and send the message with the current values as JSON object as json.dumps takes in a dict. The keepalive=5 is set intentionally to avoid keeping up the connection.
If you are wondering about the method to generate the value for self.id – this is the MAC of the network interface which is also used in Node-RED to map a name or location to the device and as MQTT client id. The name is then used to republish the single values under its own topic. In this case: ‘washroom/temp’, ‘washroom/hum’ and ‘washroom/open’.
MQTT_SERVER = '192.168.2.123'
SENSOR_TOPIC = 'sensor/raw'
DHT_SENSOR_PIN = 2
MEASURE_DELAY_S = 15
REED_SENSOR_PIN = 14
TEMP_THRESHOLD = 0.2 # temp change has to be >=
HUM_THRESHOLD = 0.5 # hum change has to be >=

# -1 unlimited skips
# 0 forces to send every time
# >= 1 set the max skip count
MAX_PUBLISH_SKIPS = -1
The configuration is just a .py file with constants. Adjust to your needs. The topic is used for all sensor devices and a Node-RED flow enriches it with time information and maps the sensor id to a name and leads to above mentioned republishing.
WIFI_SSID = 'YOUR_WIFI_SSID'
WIFI_PWD = 'YOUR_WIFI_PASSWORD'
Same with the wifi credentials. I just keep them in a separate file not to accidentially leak them. Change to yours.
Before you can start using MicroPython on the D1 mini you have to flash it with the according image. There are several ways how to do it, but for me the easist way is to do it with Thonny as I already use it to write, deploy and test my scripts on all the IoT devices I use. It also supports flashing.
Hardware:
The D1 mini was soldered on the egde of a breadboard that fits pretts well in the casing. I got a collection of different breadboard sizes and they come in pretty handy in most projects. The D1 was place close to the edge of the casing as there will be hole for the USB connector soon. The cables for the reed sensor and the DHT22 will come up on the top. The JST connectors will provide more flexibility and less effort having to replace or update the microcontroller / sensors.
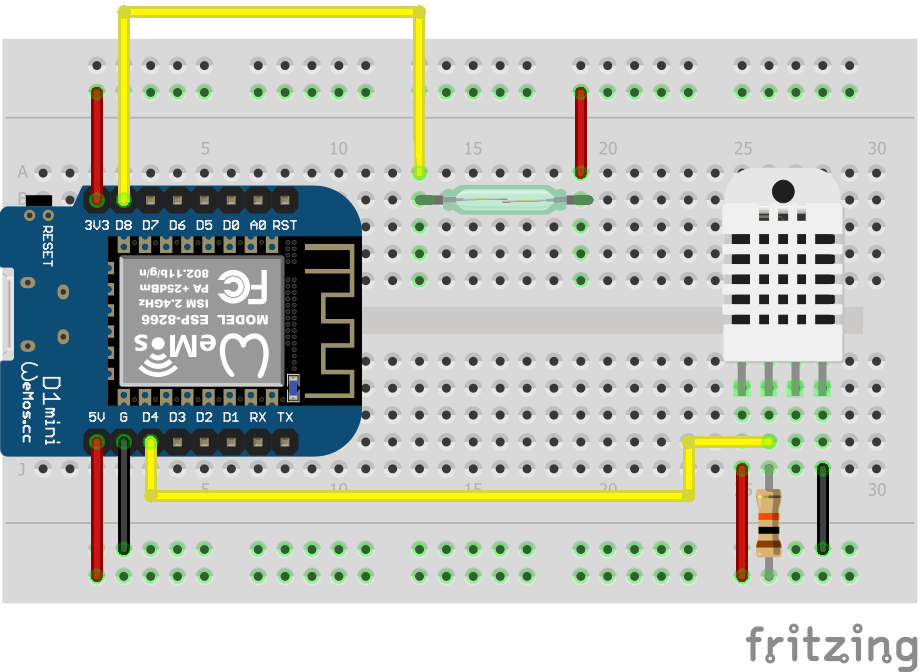
The reed sensor is connected to 3V3 and D8 (Pin 15). This pin is pulled down by the D1 and I use it to avoid a floating value. When the window is closed, the pin value is 1, otherwise 0. This works well, but it has one downside: You have to open the window when starting the microcontroller as the D1 does not boot when the D8 is in HIGH state, which it is when the window is closed (reed connected). I probably will chose another pin in future builds, which is not pulled up or down and has no problems when it is pulled up or down at boot and pull that one up with an additional 10k Ohm resistor by connecting it to 3V3 with it. On the same side of the D1 pins D5 to D7 meet these requirements. RandomNerdTutorials have a nice guide for which pin to use on ESP8266 chips. -> Already changed to D5 and added 10k Ohm pull down resistor – will update pictures soon.
The DHT22 is connected to 5V, ground and D4. The pullup is done on the included breakout board. I included the 10k Ohm pullup resistor on the circuit in case you have the plain version of the DHT22.
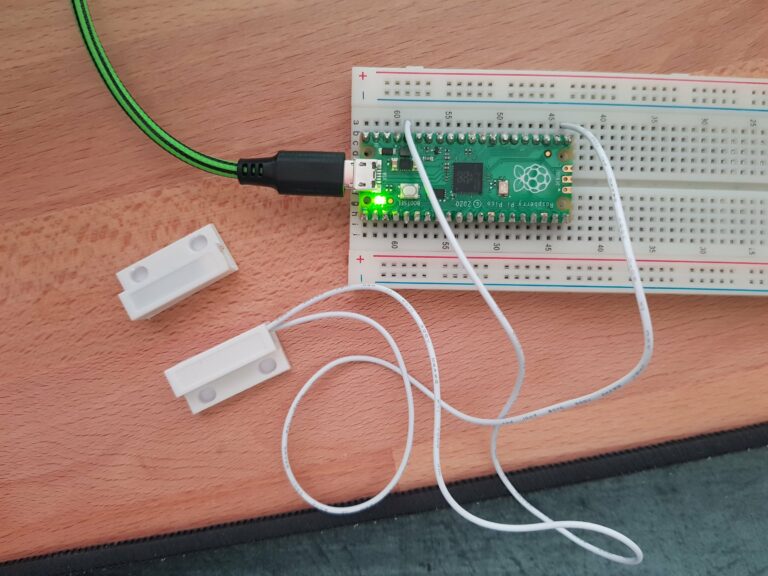
The window sensor will be installed some meters away and the temp/hum sensor about half a meter away from the casing with as much ventilation as possible at about 1,5m above the ground near the space where we mostly are when in this room. I still got some thin white cable canal for these cases.
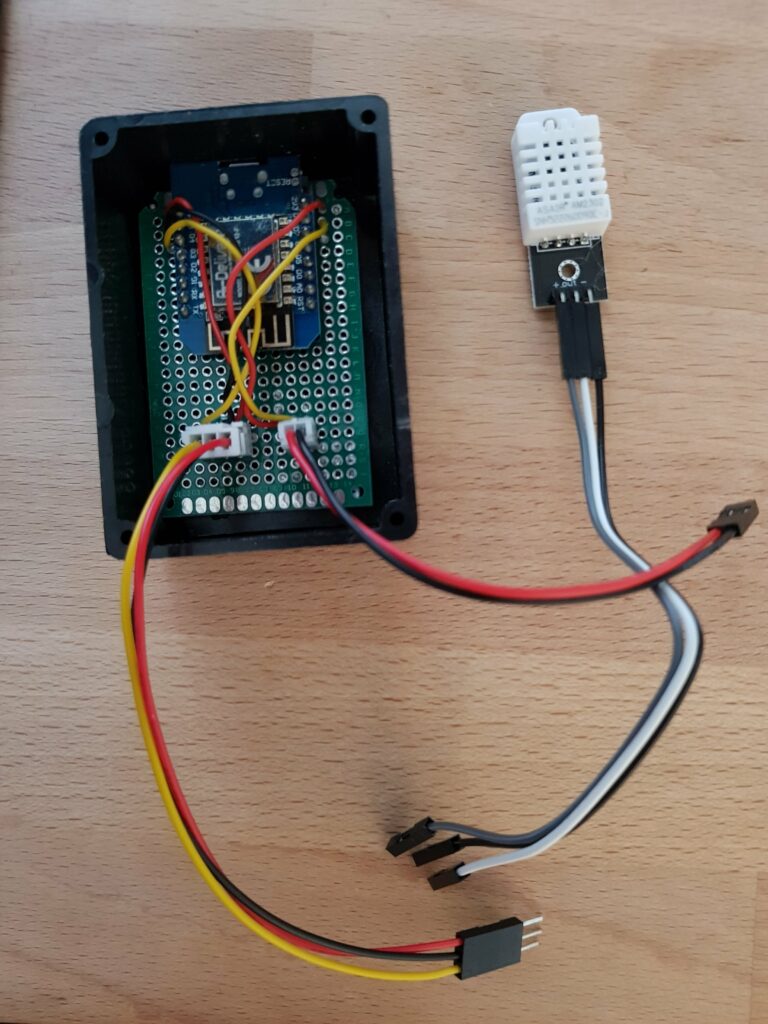
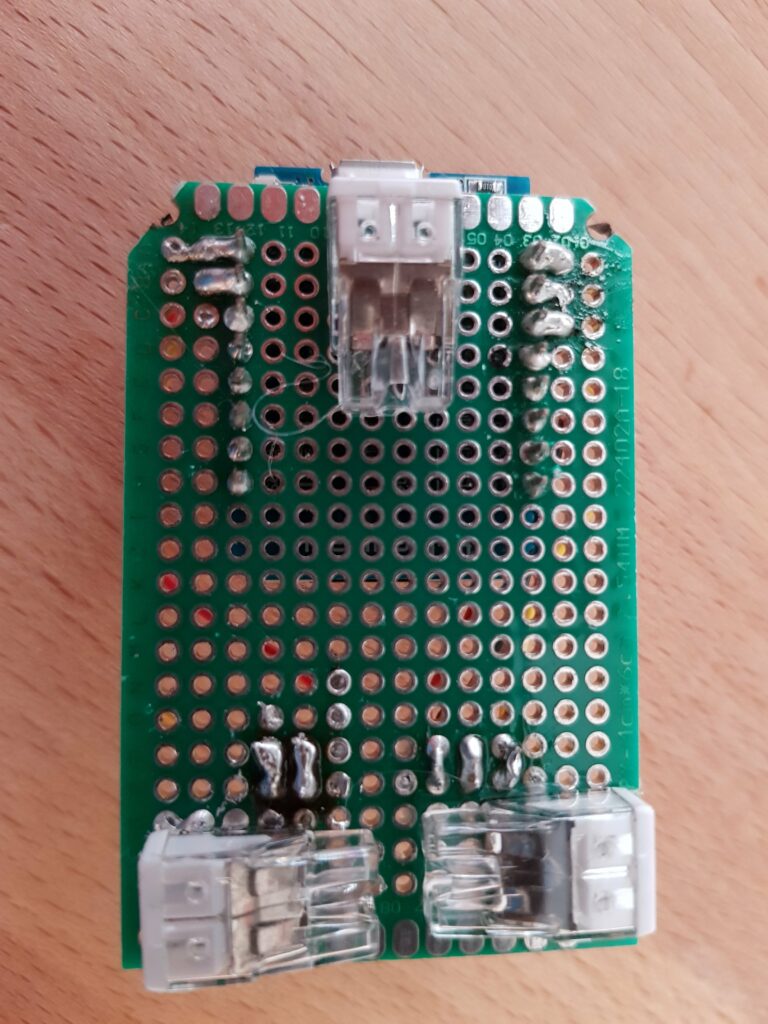
The cables connected here are for testing purposes to easily connect to a breadboard or jumper cables. As I will use sockets and plugs they will come in handy. They can be used for your own device connections as well as a battery shield for the D1 for example. I am looking forward to build some battery powered devices for window / door sensors activated by connecting / disconnecting the reed switch.
My experiences with the DHT22:
Don’t place your DHT22 in the same casing as the microcontroller or even directly mounted / glued on it. It needs as much free air as it can get to be as exact as it can be. Especially when connected to a 3.3V I saw it multiple times that the temperature is about 1 to 2 degrees higher than connected to a 5V output laying literally side by side. This is especially the case indoors when the ventilation is low. I prefer to use 5V as the measured values are pretty close to the existing non-IoT sensors.
Have fun!
