Python, Pico and a hard but good lesson
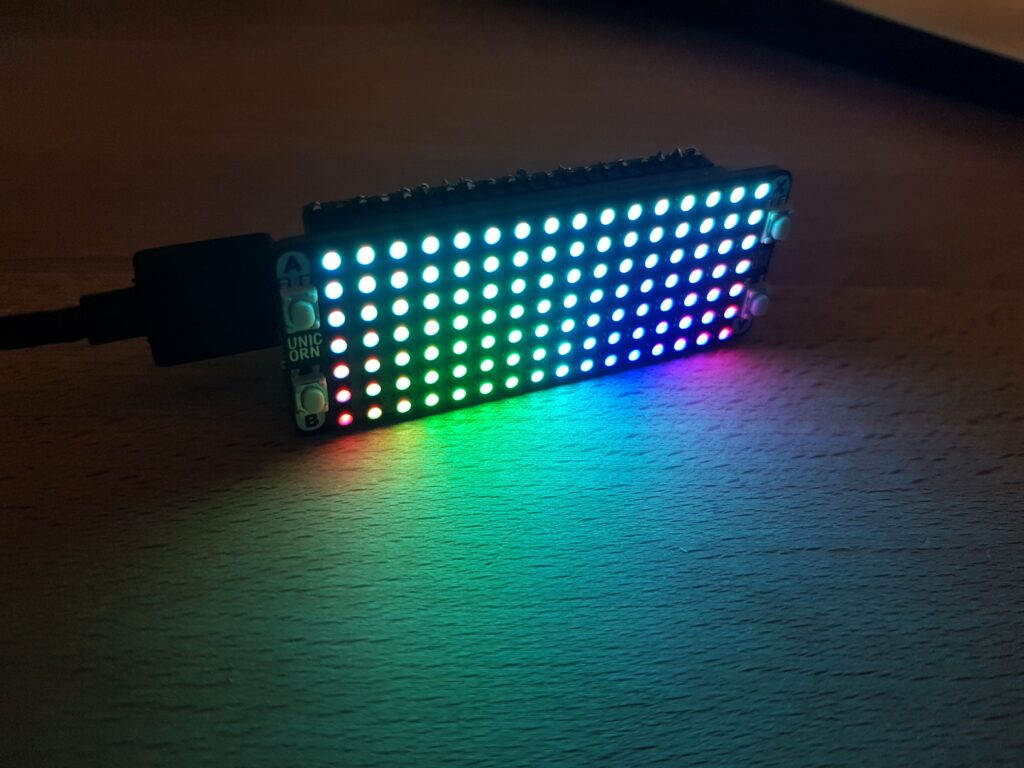
Coming from a Java background, I really wanted to and now I am enjoying to learn Python. It is refreshing to see the simplicity and extensive built-in functionality. As I like to see the code working I got me a Raspberry Pico with pins and a Picorino Unicorn hat with a 16×7 RGB LED field and four buttons.

I already encountered many interesting things about this language, watched courses and read about it. The courses I liked the most I will share here.
Some scripts I wrote in MicroPython for the Pico and the hat felt share-worthy and I will do so and post the Github links here soon.
Also my experience with the Raspberry starts to grow and there could appear some tips concerning that field in here.
In my opinion the most useful Python online tutorials (only free ones):
Youtube playlists with Python tutorials:
Corey Schafer
Corey’s videos first as until now there was always a dedicated video for the topic I was looking for. The date back some years, but are really amazingly clearly taught. I can’t thank him enough for his videos as they are great for learning Python and some of its additional frameworks.
Arjan Codes
Arjan’s video feel more personal with him showing on screen and telling you about the topic and then showing it with screen capture. Comparably in depth to Corey’s videos and very up to date. Don’t forget to read the text in the frame on the wall in the background 😉
Socratia
Socratia is a very entertaining format to present Python learning videos and are really good for getting some first knowledge to a topic with (not) a (single) smile from Ulka.
Getting started with Pico and MicroPython

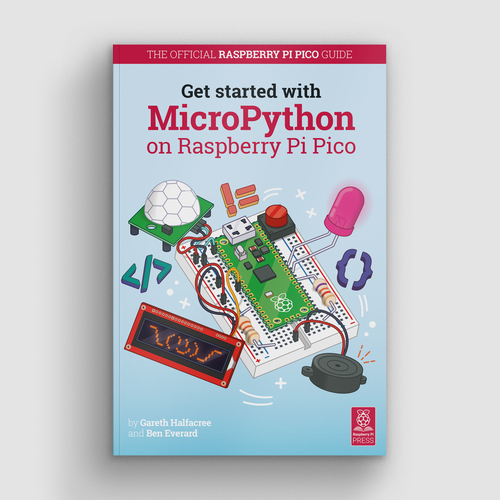
To getting used to my new microcontroller hardware and what and how I can do with it, I bought a copy of Getting started with MicroPython on the Raspberry Pico. You can also do that to support them – and the book is really great!! – but it is also available for free as PDF download. You can get it here. The guide is a great allround tutorial with anything you need to start – hardware, software, coding and wiring tips are in there.
Soldering:
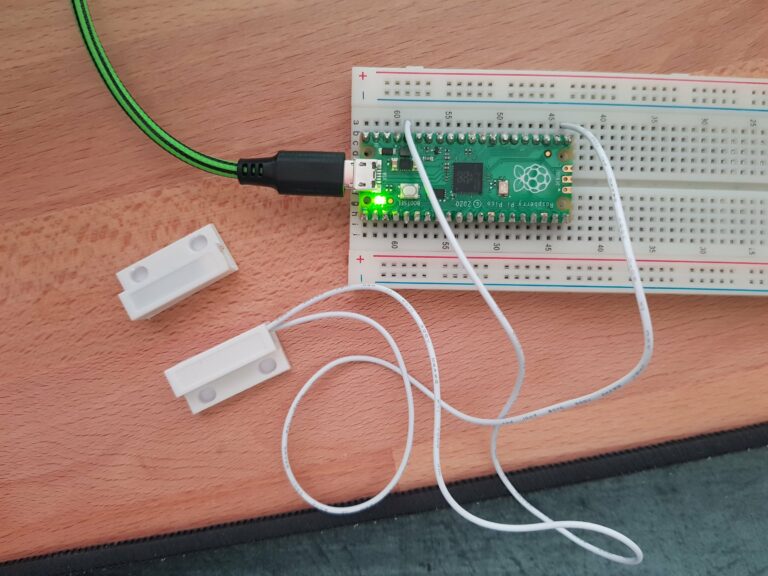
I really didn’t want to have to solder when I started with the Pico and tried pushing the pins of the Pimoroni Unicorn hat through the Pico pin holes pretty hard into the breadboard, but it just did not want to light up any of its colorful RGB LEDs. And I already had written some Python code I wanted to run so badly to show the LEDs lit up as I wanted or at least hoped they would be lit. But no chance – I had to fix this first.
Soldering is not hard to learn. Watch a good tutorial and get the idea how it is intended to be done and you should be fine to start trying. I first thought “I got this” and just started doing every imaginable mistake in the book. But even after my extended time of torturing it, the same Pico still works fine even after re-soldering the pins appropriately. I just had two soldering sessions until now and I couldn’t believe how much progress I already made. First session – one Pico badly soldered in about an hour. Second session – three Picos soldered with pretty OK pyramide shaped soldering points. Looking forward to soldermore for my upcoming projects!
When you are done soldering you can easily connect the Pimoroni Unicorn head to the Pico. Pay attention to the direction it has to be connected – it is marked on the bottom of the head. It won’t die instantly if you connect it wrong, but it won’t work.
Firmware:
It is pretty easy to install the firmware for the Pico. In a disconnected state press and hold the boot button and connect it with USB. The boot drive will be mounted. You now have to copy the firmware on it and it will disconnect itself and restart. You can find the standard Pico MicroPython firmware here. For the Unicorn hat and other pimoroni products a special firmware is necessary to be able to use it. It includes the standard firmware.
When you want to change the firmware just repeat the above mentioned steps with the new firmware.
Writing Code:
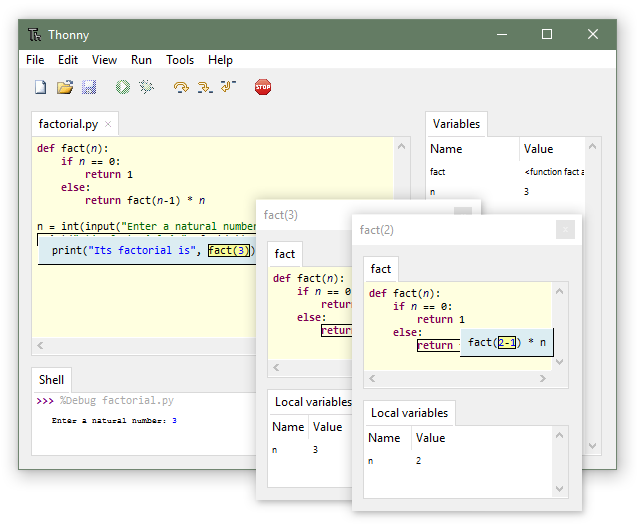
There are very many tools you can write your code – in our case Python at the moment. You can use pretty much everything what you want from a simple text editor up to full grown IDEs. The easiest way to write your code, have some benefits of an IDE like code completion and getting your code on the Pico and running is in my opinion the editor Thonny. Get it -> here.
On the pimorino github there are also some Python code examples – a fancy moving rainbow for example.

That’s it for the first post. I hope you have as much fun as I do with expereiencing this field and are excited to continue your journey to your dream project.
In fact I already went some steps into the future and report back from my first steps and breaking down topics and problems I was faced and seem to be worthy to write about – and be it just to remember it for me that I already went through the one or the other.


One Comment